This tutorial will be focused on setting up a local development environment using the OpenMRS SDK. The approach can be generalized for work on any existing or new OpenMRS modules, but for this tutorial we will focus on the FHIR module and the Microfrontends Project. The MF project includes an OpenMRS module that allows OpenMRS to support the client-side SPA-based frontend to OpenMRS.
Please feel free to send feedback / suggestions for improving this tutorial! This content is based on the availble documentation along with vital input from @psbrandt, and we’re definitely looking to improve it with input from the community.
Note: We won’t focus on implementation-specific installation and setup that might concern you for deploying production-ready solutions. See the Implementers Guide for guidance on that.
End Goal
You should be able to see the following screens after a successful setup, all running off of the local machine:
One of the modules that comes bundled with the reference application is the OpenMRS FHIR Module. We will examine how to develop and deploy new features in this module. You can read more about the OpenMRS FHIR Module project on this OpenMRS Wiki Page.
If you’re interested in getting further involved in this project, join the [OpenMRS FHIR Squad] and check out the #fhir channel on the OpenMRS Slack.
The OpenMRS SPA module is not included with the Reference Application distribution, and we will have to deploy it to our OpenMRS instance using the OpenMRS SDK.
If you’re interested in more information, you can join the #microfrontend channel on the OpenMRS Slack and follow the development process on Github.
The Import Map and Frontend Javascript Modules (ESM)
At the end of this tutorial, your local development enviroment should look as follows:
An OpenMRS server running the latest OpenMRS Referance Application distribution.
A cloned OpenMRS FHIR module codebase that is compiled locally and used by the OpenMRS server.
A cloned OpenMRS SPA module codebase that is compiled locally and used by the OpenMRS server.
Cloned codebases for the FHIR and Home Microfrontend javascript modules that compile and are served up locally, and connect to the OpenMRS server using the mentioned SPA module.
In this example, we will clone the openmrs-esm-home and the openmrs-esm-api codebases, but feel free to choose whichever openmrs-esm-* projects you’d like.
> bin\mysqladmin -u root -p version

Enter password: *****

bin\mysqladmin Ver 8.42 Distrib 5.7.27, for Win64 on x86_64

Copyright (c) 2000, 2019, Oracle and/or its affiliates. All rights reserved.

.

.

.
3b. OR install Docker
> docker -v

Docker version 19.03.4, build 9013bf5
4. Set up OpenMRS RefApp
We will use the OpenMRS SDK to create a local development server running the OpenMRS Reference Application Distribution.
> mvn openmrs-sdk:setup -DserverId=openmrs-dev -Ddistro=referenceapplication:2.9.0 -DdbUri=jdbc:mysql://localhost:3306/openmrs -DdbUser=openmrs -DdbPassword=openmrs

...

What port would you like your server to use? (default: '8080'):

> 8080

If you want to enable remote debugging by default when running the server,

specify the port number here (e.g. 1044). Leave blank to disable debugging.

(Do not do this on a production server) (default: 'no debugging'):

> 1044

Which database would you like to use?:

1) MySQL 5.6 (requires pre-installed MySQL 5.6)

2) MySQL 5.6 in SDK docker container (requires pre-installed Docker)

3) Existing docker container (requires pre-installed Docker)

Which one do you choose? [1/2/3]:

> <1 OR 2>

...

Note: JDK 1.8 is needed for platform version 2.1.4.

Which JDK would you like to use to run this server?:

1) JAVA_HOME (currently: C:\java\jdk1.8.0_221\jre)

2) Other...

>> 1

[INFO] Server configured successfully

[INFO] ------------------------------------------------------------------------

[INFO] BUILD SUCCESS

[INFO] ------------------------------------------------------------------------

[INFO] Total time: 02:48 min

[INFO] Finished at: 2019-10-21T15:22:18-07:00

[INFO] ------------------------------------------------------------------------
For the OpenMRS Reference Application, just set the setting named
referencedemodata.createDemoPatientsOnNextStartup to the number of demo
patients you want created and restart the application.
The setting referencedemodata.createDemoPatientsOnNextStartup is accessible
through the new UI via Home > System Administration > Manage Global Properties.
It is also accessible through the old admin UI in Maintenance > Advanced Settings.
Test the Ref App:
mvn openmrs-sdk:run -DserverId=openmrs-dev
[INFO] Scanning for projects...

[INFO]

[INFO] ------------------< org.apache.maven:standalone-pom >-------------------

[INFO] Building Maven Stub Project (No POM) 1

[INFO] --------------------------------[ pom ]---------------------------------

[INFO]

[INFO] --- openmrs-sdk-maven-plugin:3.13.2:run (default-cli) @ standalone-pom ---

Checking if port 8080 is in use... [free]

Connect remote debugger with port 1044

Forking a new process... (use -Dfork=false to prevent forking)

Listening for transport dt_socket at address: 1044

.

.

.

INFO: Starting ProtocolHandler ["http-bio-8080"]
Go to System Administration > Advanced Administration > Manage Modules.
You should see the following list of modules - note the FHIR module version, and the absense of the OpenMRS SPA module.
We’ll deploy local versions of our modules using the cloned codebases from earlier.
> cd <path-to-cloned>/openmrs-module-fhir

mvn openmrs-sdk:deploy -DserverId=openmrs-dev

Would you like to deploy fhir 1.20.0-SNAPSHOT from the current directory? [Y/n]:

> Y

Do you want to update module 'fhir' in version '1.18.0' to version '1.20.0-SNAPSHOT'? [Y/n]:

> Y

.

.

.

[INFO] ------------------------------------------------------------------------

[INFO] BUILD SUCCESS

[INFO] ------------------------------------------------------------------------

[INFO] Total time: 35.814 s

[INFO] Finished at: 2019-10-28T11:52:22-07:00

[INFO] ------------------------------------------------------------------------
> cd <path-to-cloned>/openmrs-module-spa

mvn openmrs-sdk:deploy -DserverId=openmrs-dev

.

.

.

[INFO] ------------------------------------------------------------------------

[INFO] BUILD SUCCESS

[INFO] ------------------------------------------------------------------------

[INFO] Total time: 5.785 s

[INFO] Finished at: 2019-10-28T11:54:31-07:00

[INFO] ------------------------------------------------------------------------
Now, restart the server: mvn openmrs-sdk:run -DserverId=openmrs-dev
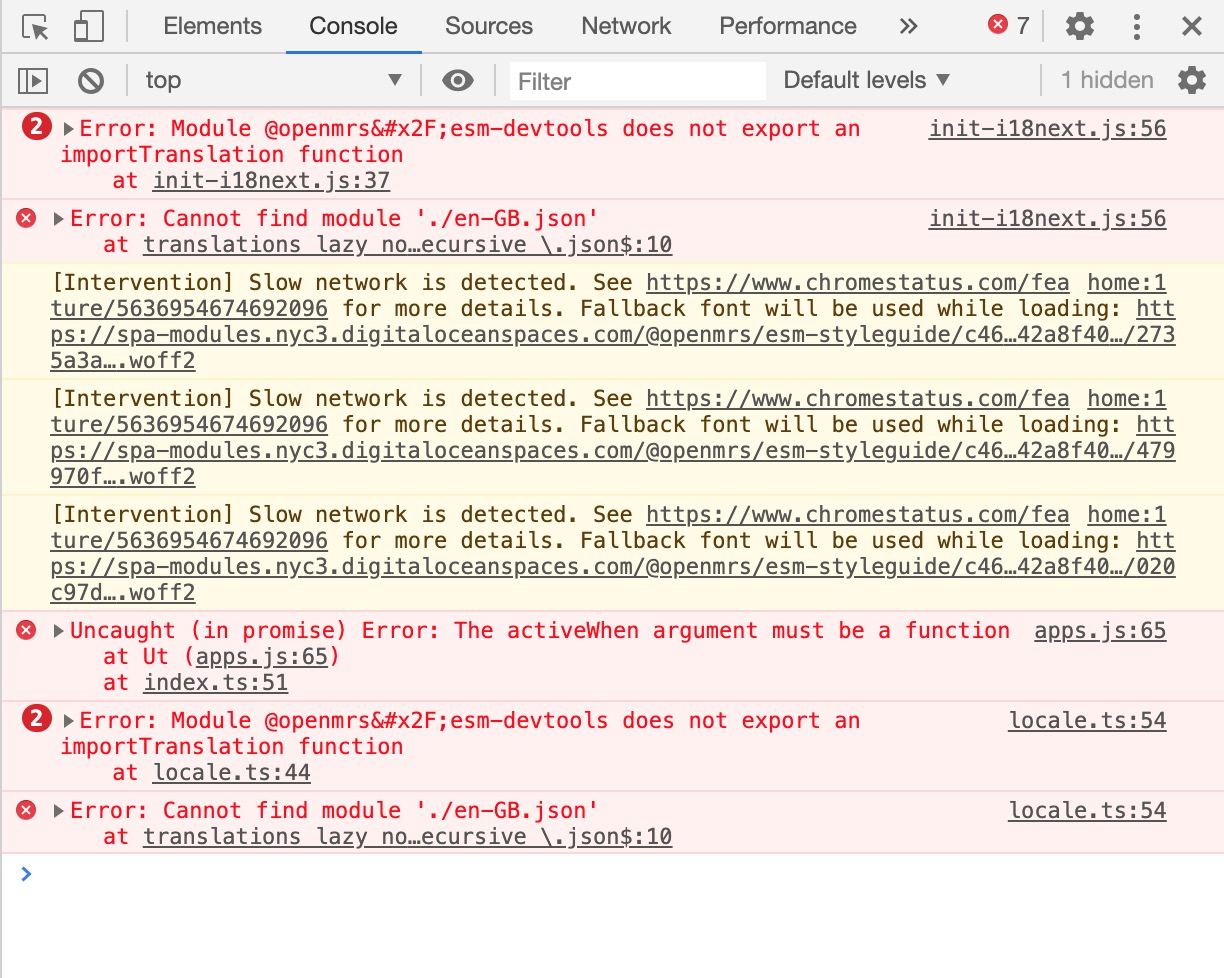
Note: npm run build in the Packmap instructions caused an error in NPM 8.9, but worked as documented in npm 10. Look into this requirement and document it.
The MF UI requires a couple of different assets to be served (as specified here):
We need to package the MF ESM packages for local development, as described here
> git clone https://github.com/openmrs/packmap.git

> cd packmap/examples/openmrs-example

> npm install

> npm run build
The packmap/examples/openmrs-example/openmrs/frontend will include the files that need to go in the frontend folder for the OpenMRS server, so we copy the contents over:
In order to more easily send and analyse API requests to the local OpenMRS server, we can use Postman. In order for the requests to get through the authentication, we can set up the capture of Chrome cookies using the Postman interceptor. As a result, requests sent from the native Postman app will use the same session cookies as the Chrome browser, allowing us to log in using the browser, capture the generated cookies using the Interceptor, and then switch to sending requests using Postman.
Start Postman and click the satellite button in the top corner. Click on the Cookies tab, and you should see a message that says Interceptor Connected and a green dot.
Turn on Cookie caputre and put in your local dev address/port in the Domains section. Your screen should look like this:
8. Test the Setup
OpenMRS Reference Application
To test out our OpenMRS Ref App, we will create a patient using the UI. We will then use the built-in FHIR Client to send a GET request to our OpenMRS FHIR Server, and try to retrieve the created patient as a FHIR resource.
Prereq: Make sure Postman is running and capturing your browser cookies like explained here
mvn openmrs-sdk:run -DserverId=openmrs-dev
Open your browser and go to localhost:8080/openmrs and login as admin\Admin123
Create a patient - be creative!
Note the UUID of the patient in the url
Check whether the FHIR module is installed correctly. You should be able to access the following resources:
Thank you for the presentation I have really benefited just waiting for the video as I practice the deployment part. @jennifer thanks for the reminder.